


When I am creating with Polygonia I often imagine lines weaving in and out of each other. I try to capture that feeling in the design, but it is difficult. The designs are flat. Everything is at the same level. Up until now there was no way to show one line going over another.
Well, the other day, in a moment of inspiration, I came up with a way to put some lines on different levels. Now you can create designs that look like weaves or braids or lattices. Basically, any line in your design can now go above and below other lines.


The lattice feature works with the shadow and color features so you can create some really interesting designs. There are also some improvements in how shadows are drawn and how colors work with curves.
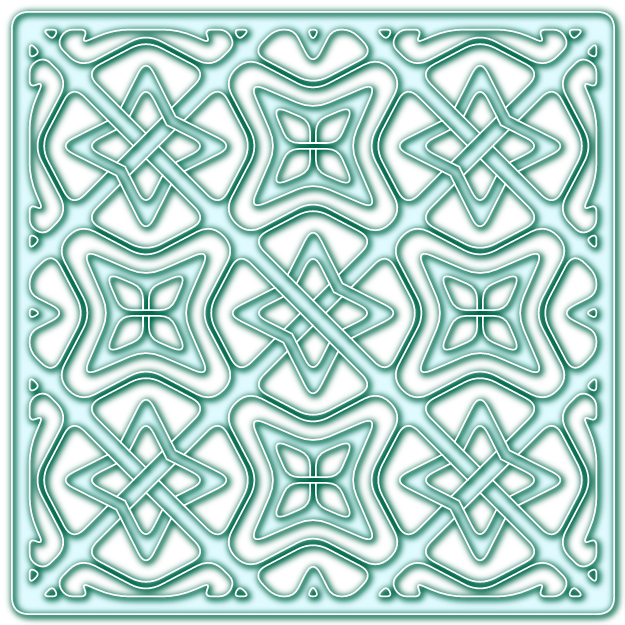

The lattice feature creates a set of edges called “lattice edges” that are added to your design. These edges have their own settings for color and width. If you are using a paper cutter or a laser cutter you can use the use these edges for drawing with a pen (on paper) or etching (with the laser).


I wanted to make the lattice feature as flexible as possible. You can set the level of the start of a line, the line itself, or the end of the line. And you can specify how the level changes (from “up” to “down”) as the lines in your design are reflected, rotated, and translated to create your final design.
There are three steps to create a lattice:
- Enable the lattice feature
- Change the level of a line or endpoint
- (Optionally) Set the level behavior
This is explained in a blog post: Working with the Lattice Feature
The lattice feature can not handle every case. There are plenty of times when Polygonia can not figure out the lattice edges and will draw only some of the edges.
Six Months Complimentary!
There is a new promo code is available to everyone! Six months complimentary Designer subscription! You will be able to create additional projects (a fancy name for folders) and download up to 1000 designs per month!