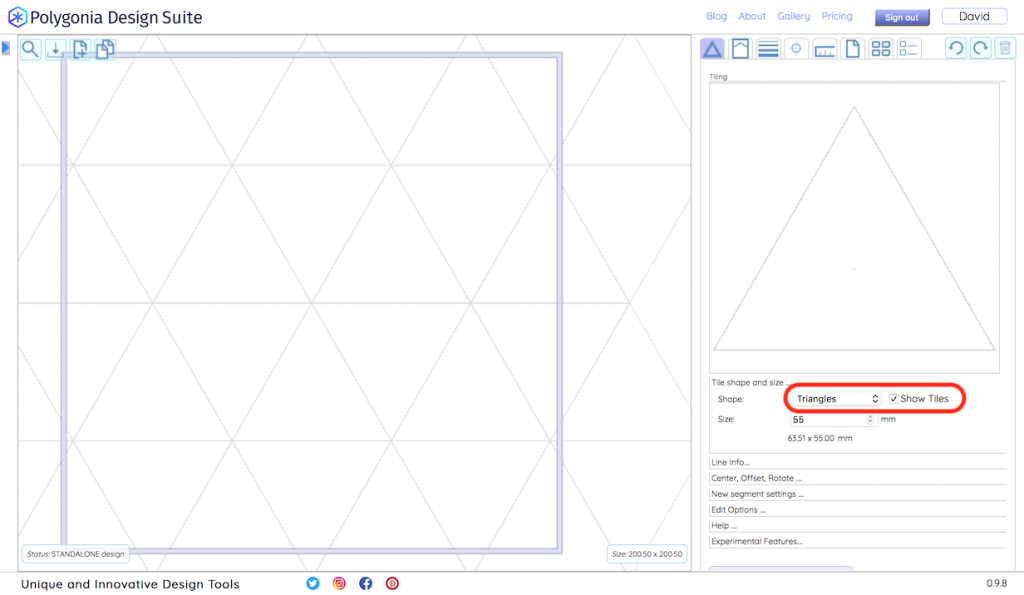
Start by clicking on the first tab (the one with the triangle) to show the editor:
It is helpful to see how the triangle in the editor fills up the square frame of your design. To do this, click on the Show Tiles checkbox next to the “Triangles” menu item. This is not necessary to use the editor, but it helps you see the relationship between what you do in the editor and what happens in your design.
What you draw in the triangle in the editor is copied to each triangle in shown in the frame.
If you are following along, you might want to use the same settings for the editor as I am using. I will explain some of these below and others in future posts. Click on the Edit Options …. header to show the options and make sure the following are all selected:

When you move you mouse into the edit area (and the Show snap-to info option is selected) the editor will show you the lines and points that the cursor can “snap to”. When the cursor is over a snap-to point the editor cursor changes from blue to red, and when it is over a snap-to line, the line changes to green.
When you click and start moving the cursor three things show up: the line you are drawing, copies of the line, and information about the line.
In this example, I am able to draw a full triangle by drawing a short line that is one half of one side of a triangle.
When you let go of the mouse (and Show full design is checked), the editor will draw a small part of the complete design.
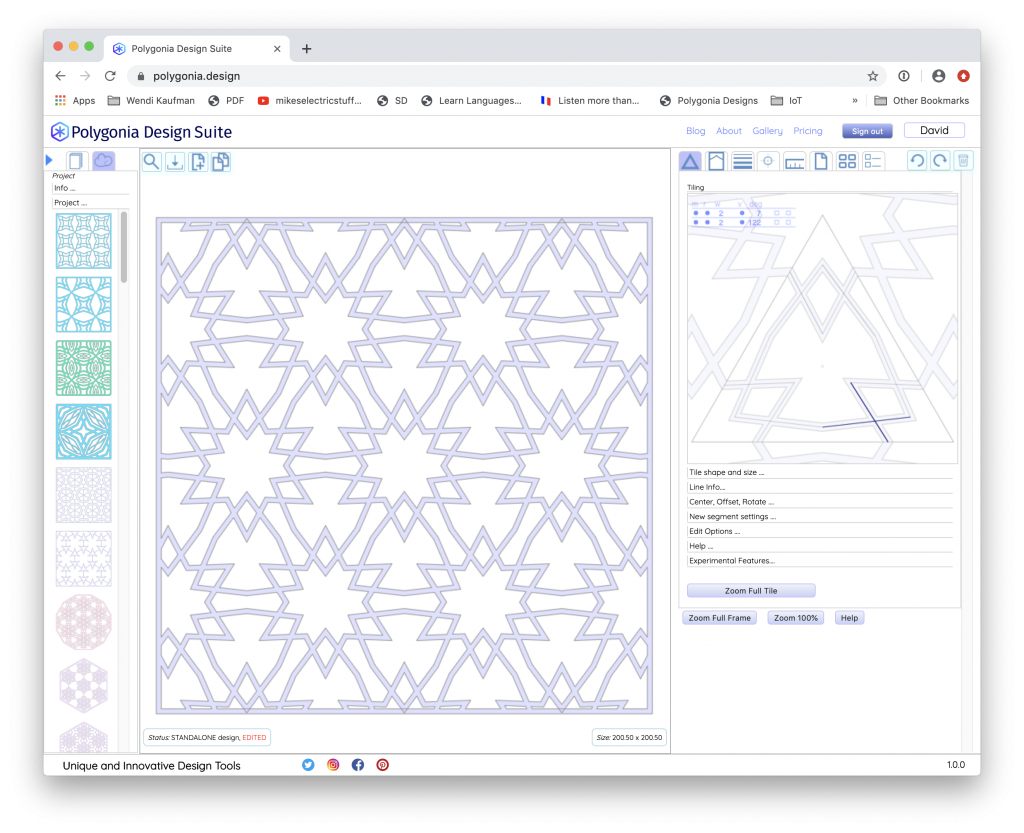
The complete design is shown on the left. (Note that the Show Tiles checkbox has been unchecked.) The triangle drawn in the editor now fills the frame. In places where the triangles would go out of the frame, they are cut off exactly at the edge of the frame.
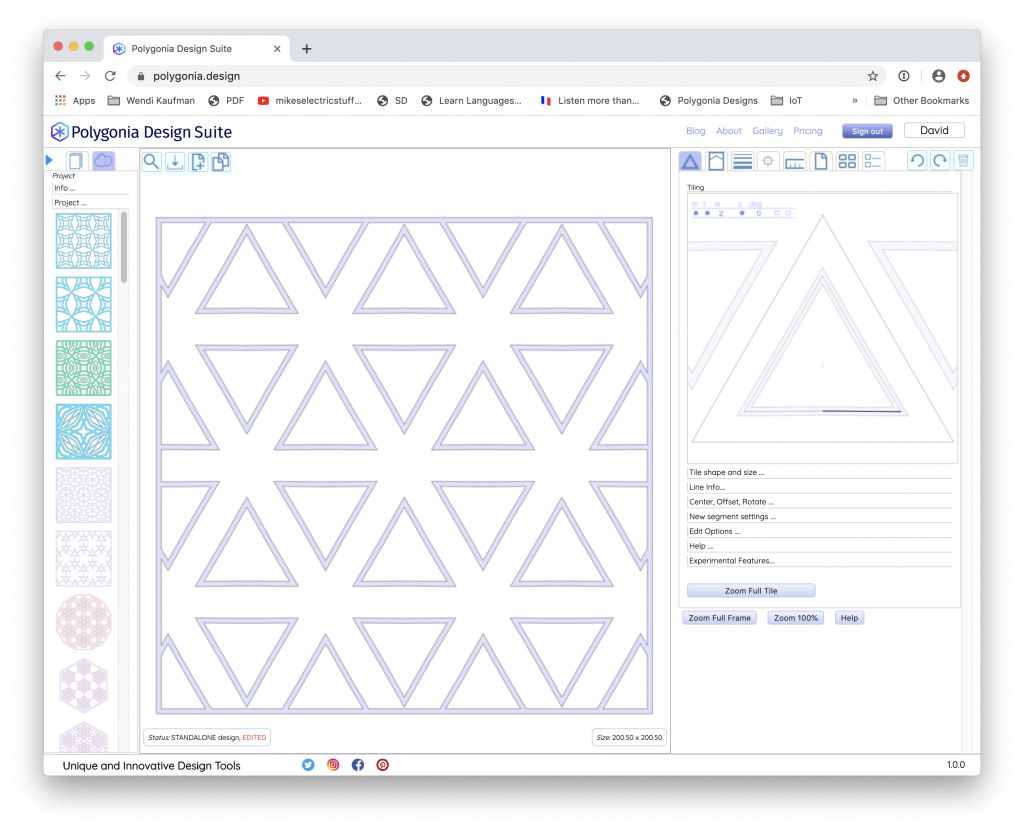
Drawing a second line, you will again see the line you are drawing, copies of the line, and another row of info about the line:
With just two lines, the design now consists of triangles and hexagons filling the square frame.
At this point I could download this design as an SVG or DXF file and use it with a laser cutter, a paper or vinyl cutter (such as Cricut or Silhouette), or a CNC machine. Of course, I could also just print it.
Clicking the mouse button and moving the mouse creates new lines. To move a line you have already created first you click on one end of the line and then click and drag to move the end of the line.
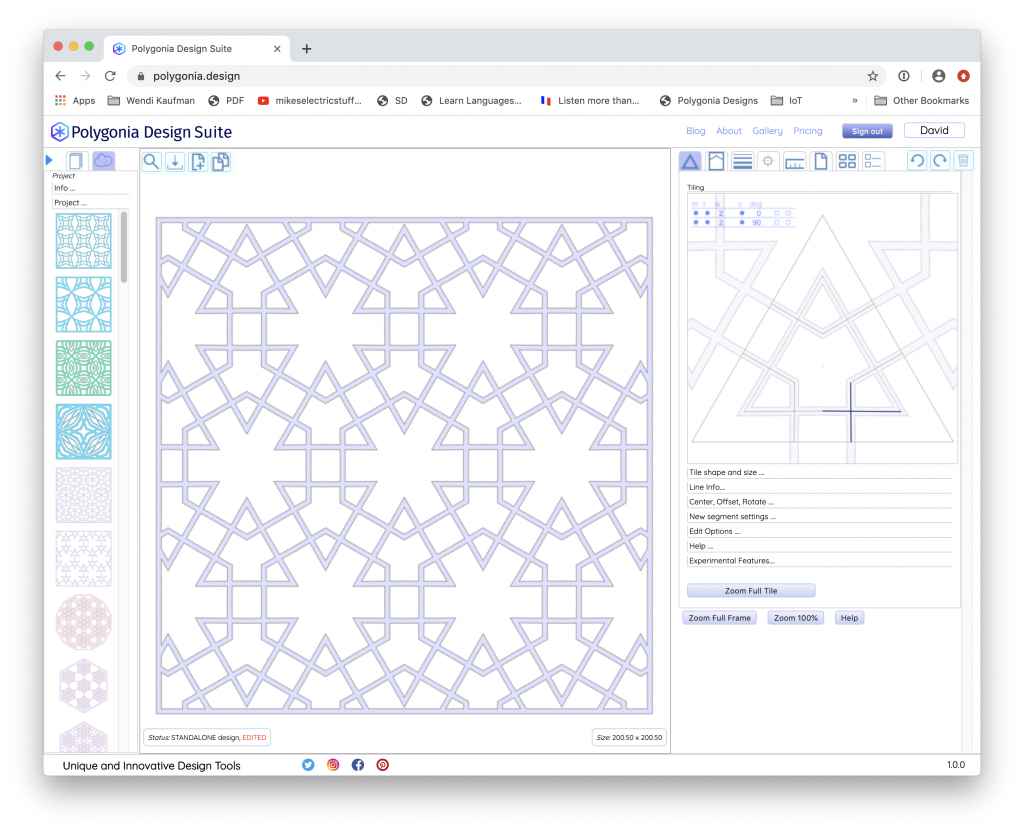
Here I will move each line to change the design:
Now I have a design with “bulging” triangles and six-pointed stars. As before, this is all just with two lines.