Polygonia now has a full range of features for creating Image designs. This gives you more creative control in how Polygonia converts your image into polygons.
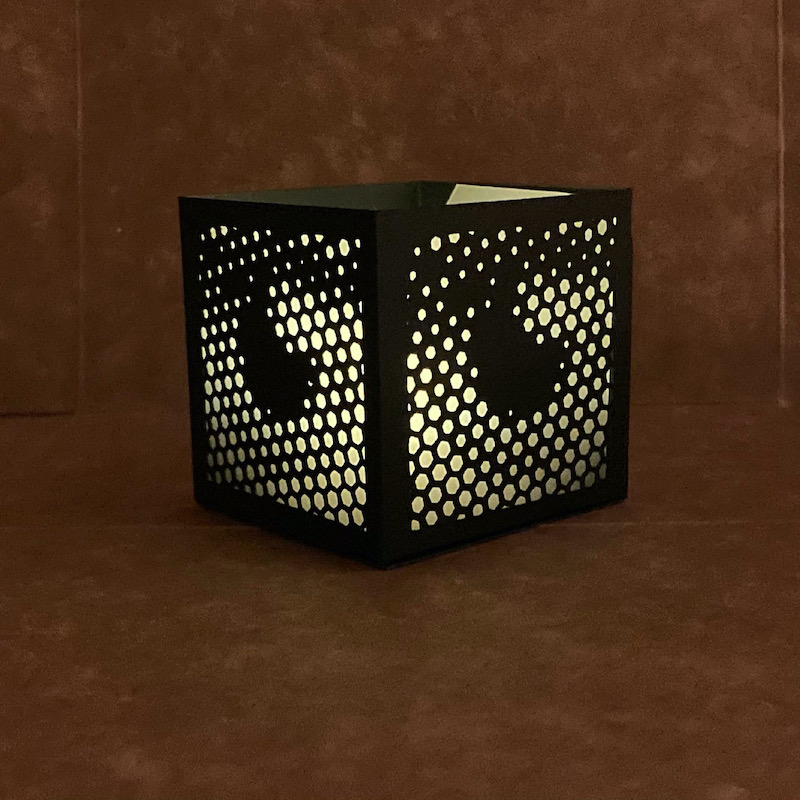
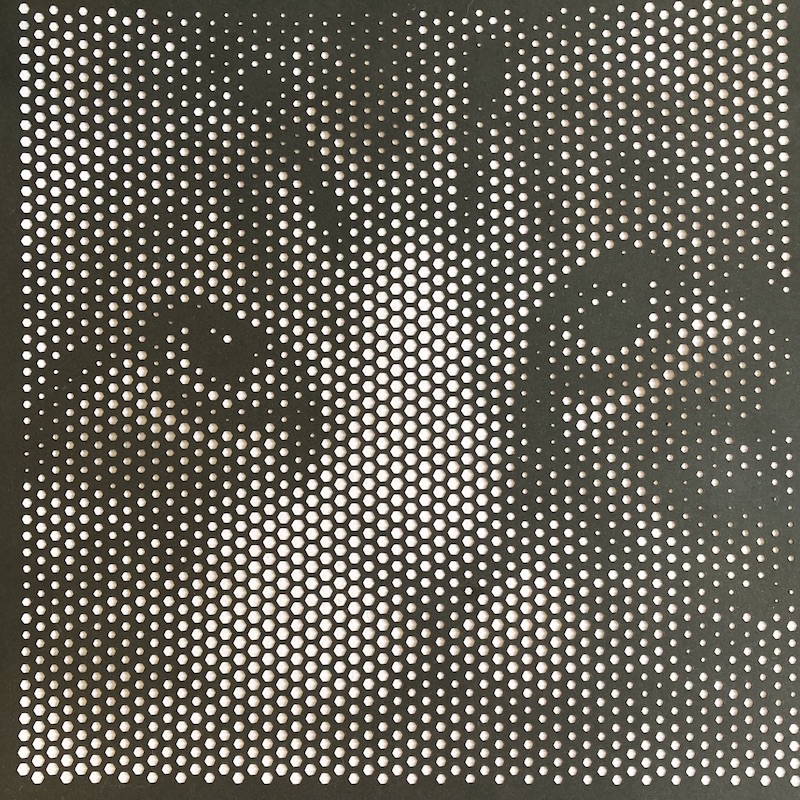
Here are two designs created with Polygonia and cut with a Cricut Explore Air. The votive, on the left, is a 2 inch (60mm) cube. In Inkscape, a free SVG editor, the design from Polygonia was combined with a foldable box design. The cat, on the right, is 12 inch (300mm) square. A detailed picture of the cat is at the bottom of the email.
Features
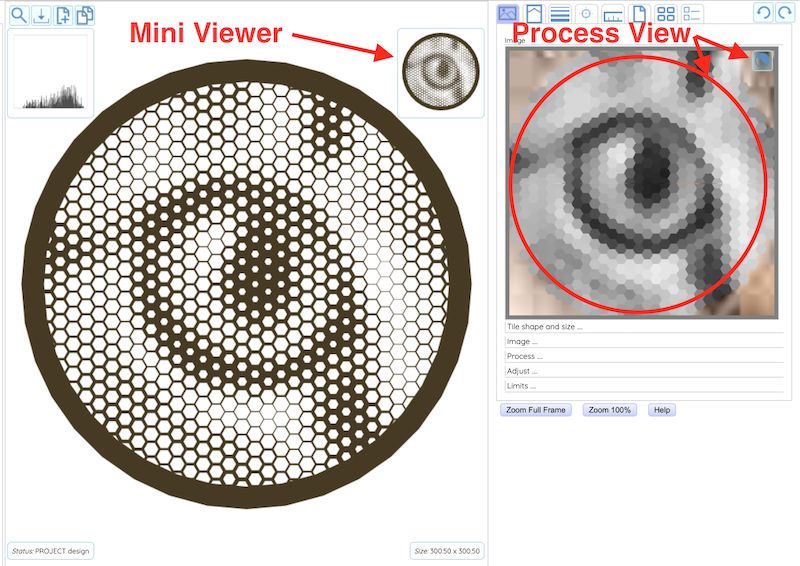
Process View
The process view is shown in the Image tab when the process view toolbar button is pressed. The process view shows you how Polygonia is converting your image into polygons. In particular, it shows you how the image is converted in a grayscale image. It uses the grayscale information to determine the size of the polygons (for the “light polygons on dark” and “dark polygons on light” options). If you are using the “color polygons” settings, then it shows you the color. This view is also helpful for positioning your image.
Mini-Viewer
The mini-viewer shows a small version of your design. The very nature of the image design results in a lower resolution image. And if you use large polygons the resolution is even lower. I found I kept getting up and walking across the room to get an idea of what the design would look like from a distance. The small image in the mini-viewer has the same effect as looking at your design from a distance.
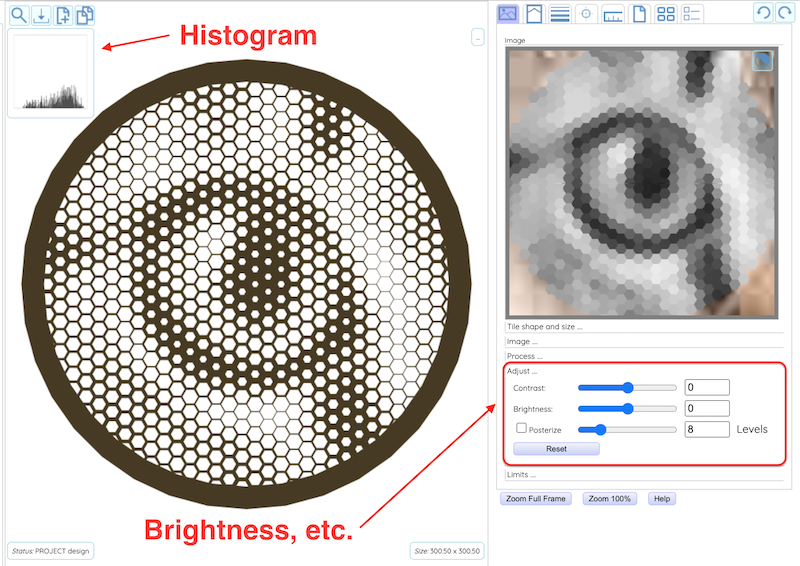
Contrast and Brightness
The contrast and brightness settings are in the “Adjust…” panel. These are important as they allow you to move the gray levels into the best range for your design. Also, reducing the contrast allows you to make your designs more subtle. You can also select to “posterize” you image. With this setting Polygonia rounds the colors to the nearest level.
Histogram view
The histogram view shows you the distribution of the the gray levels of your processed image. The histogram view “auto scales” to show as much detail as possible.
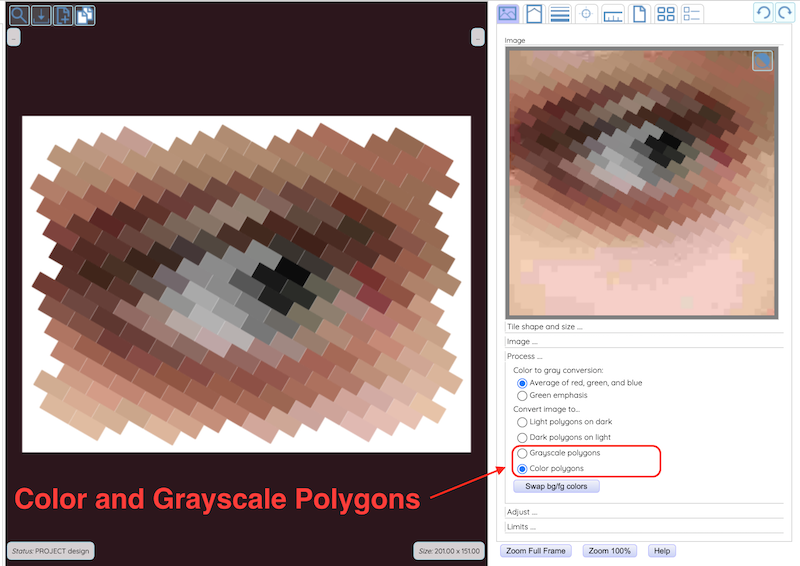
Color and Grayscale Tiles
Polygonia has the option of converting your image into either color polygons or grayscale polygons. With these two settings Polygonia exports your design as a set of individual polygons. The “minimum distance between polygons” setting, described below, will add space between the polygons.
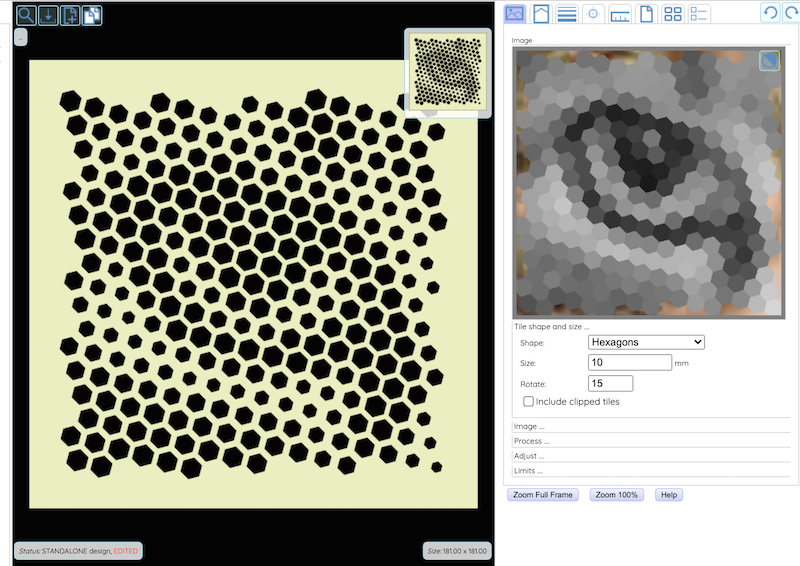
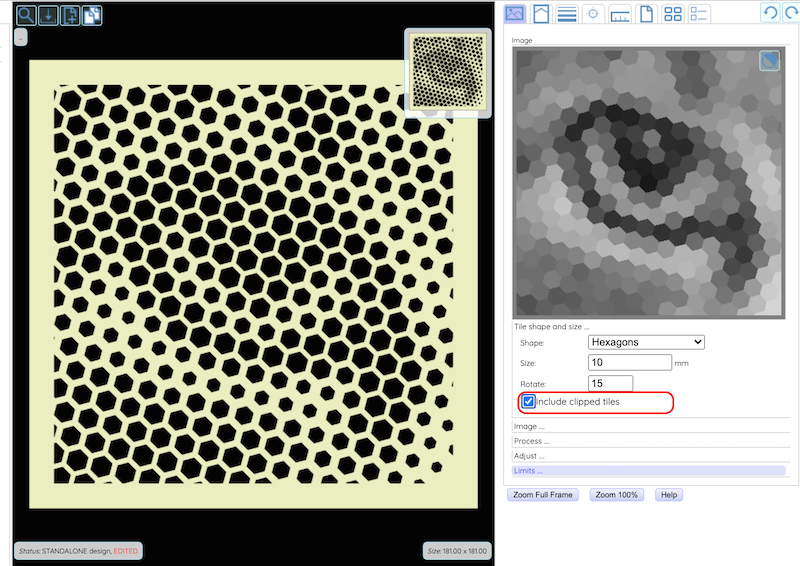
Include Clipped Tiles
The “Include clipped tiles” option allows you to add the tiles that are clipped at the edge of the frame. The two images here show the difference. When the option is off then only complete polygons are included. This give a slightly more rugged edge to the design. When the option is on the edge of the design cleanly follows the edge of the border.
Minimum Polygon Size
The “minimum polygon size” setting sets the smallest polygon that will be included in the design. Polygons smaller than this setting will not be included. This setting is useful for eliminating polygons that might be too small to physically cut out, using a Cricut or Silhouette, for example.
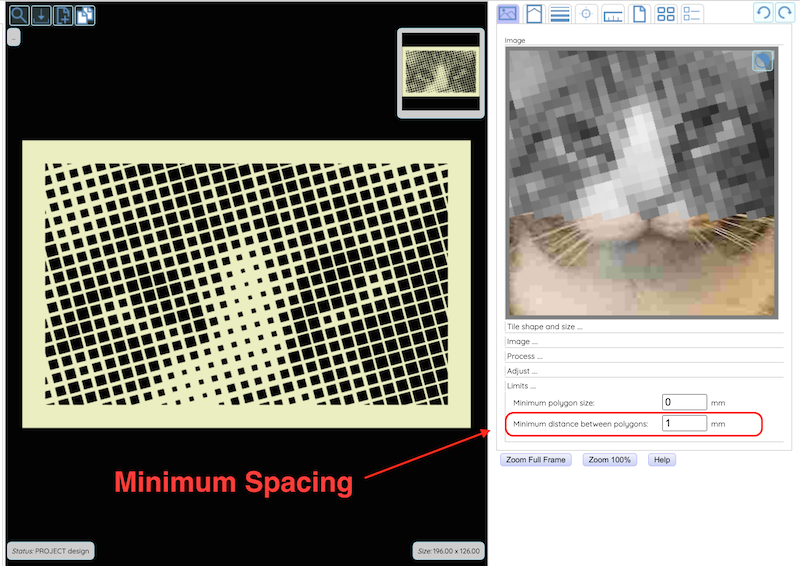
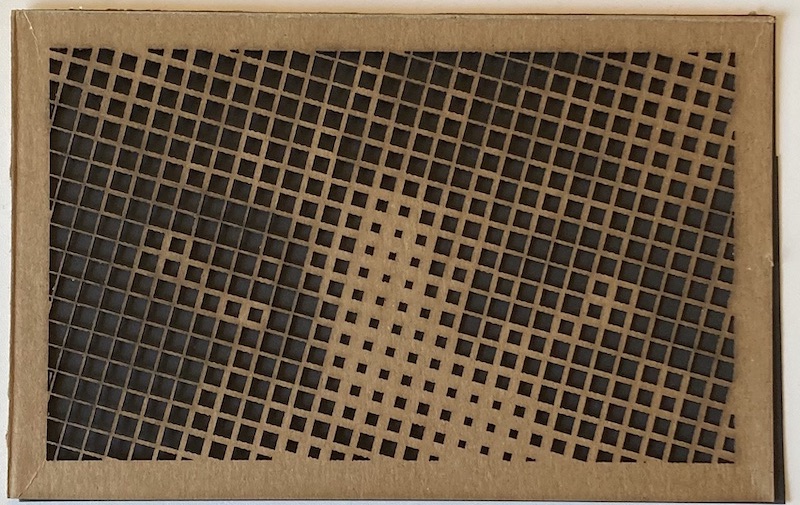
Minimum Polygon Spacing
The “Minimum distance between polygons” settings allows you to set how close the polygons can be to each other. This setting is useful if you are going to create a physical product from the design and you have to leave some material between the polygons.
Tile Outlines
By default the “Edge” setting in the “Lines” tab is unchecked for Image designs. When you enable this for grayscale or color Image designs the line will be added to the polygons.
Brick tiling
You can select “bricks” as a tiling option. There is an example, above, with this setting.
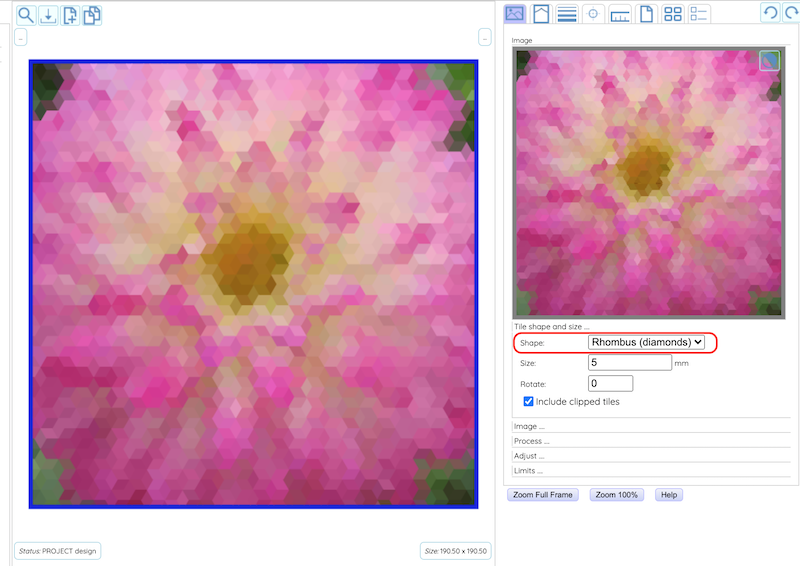
Rhombus (diamond) tiling
You can now select “Rhombus (diamond)” as a tiling option.