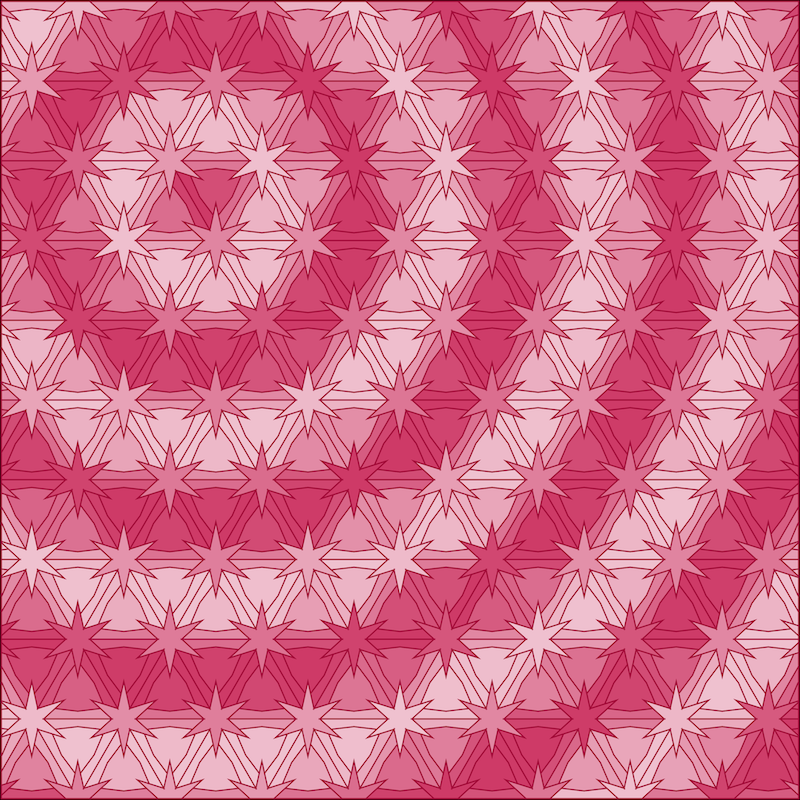
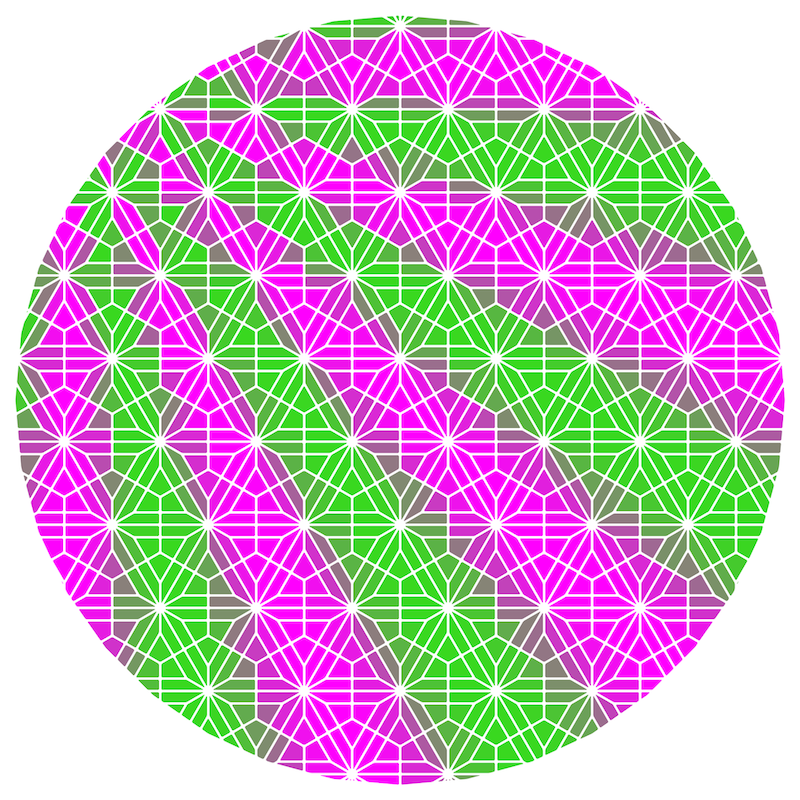
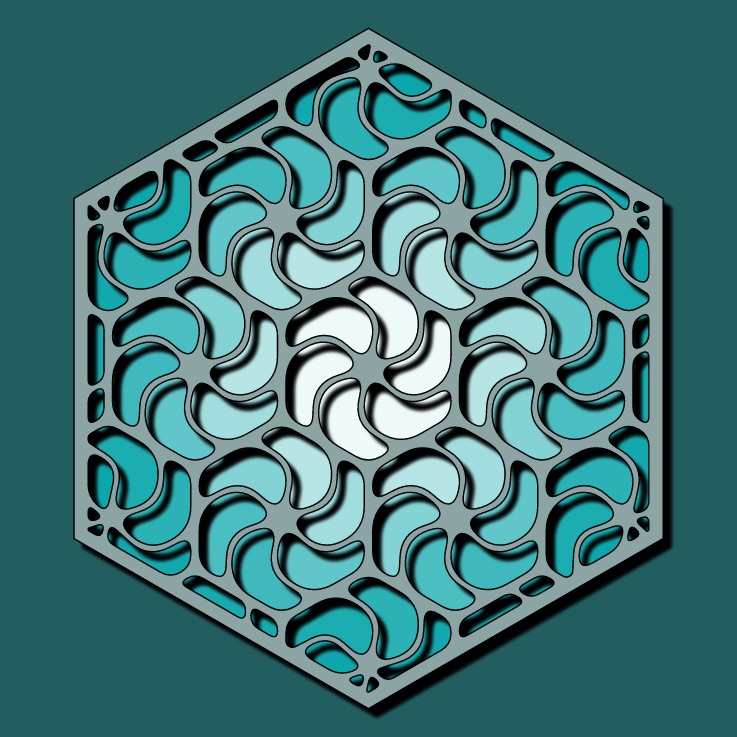
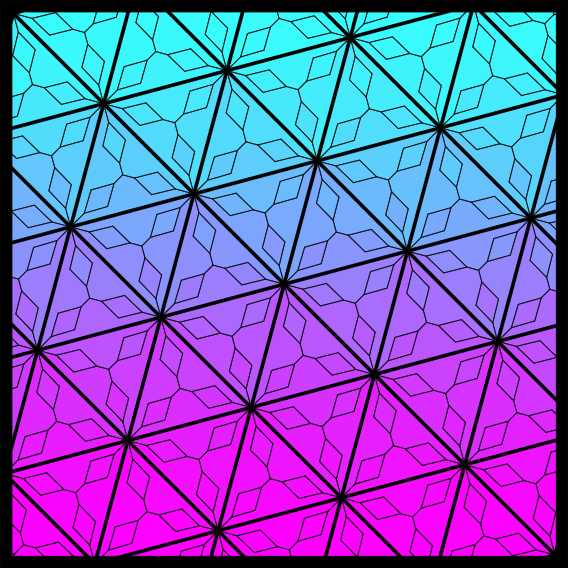
You can now fill in the polygons of your design with a gradient, a transition from one color to another. Linear, circular, and radial gradients are supported. The first image below is a circular gradient, the color changes in a ring expanding outward from the center. The second image below is a linear gradient, the color changes in bands from the bottom to the top.
Gradient Settings
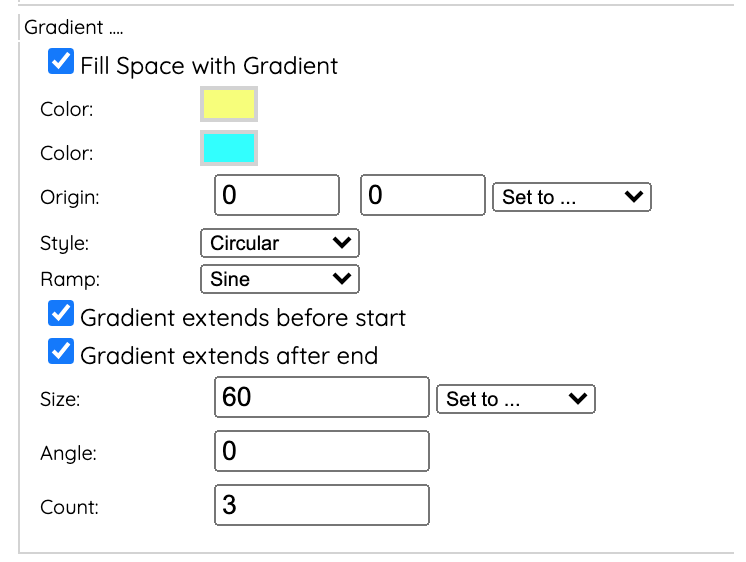
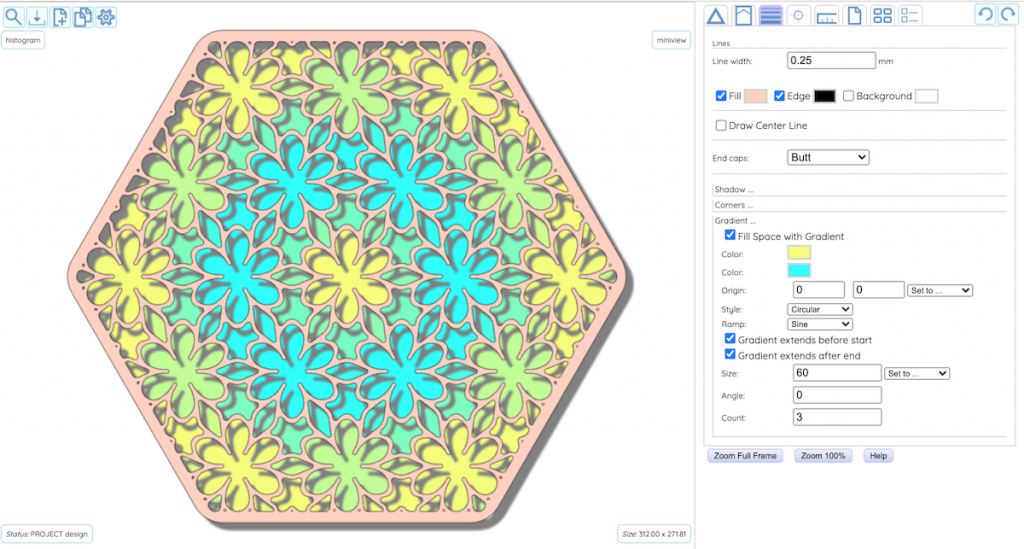
| The “Gradient ….” settings are in the “Lines” tab, below the “Corners ….” settings. You can set the start and end colors, the origin, and various other parameters. The “Ramp” setting specifies how quickly to change from the start to the end color. The “Gradient extends…” checkboxes allow you say whether or not the gradient repeats. |
Lots of Colored Polygons
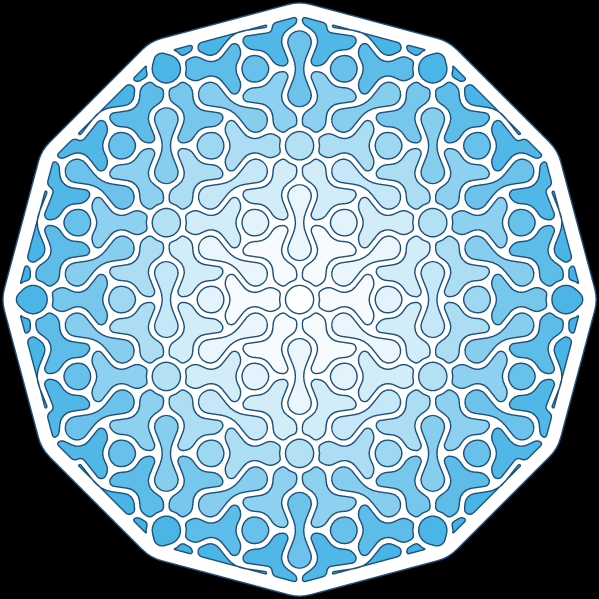
| If you look closely you might notice that each polygon is a single, solid color (not including the shadow, if active). The center of each polygon is used to calculate a value that represents how close the polygon is to the start or end of the gradient. That value is then used to calculate the color for the polygon. I am still surprised how well this works. |
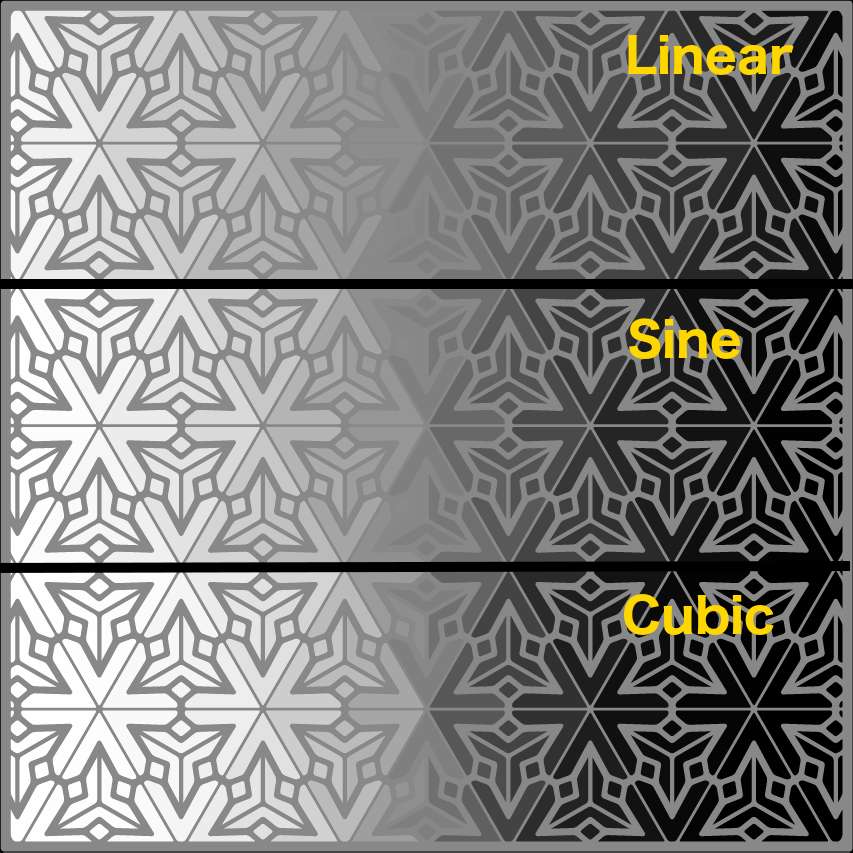
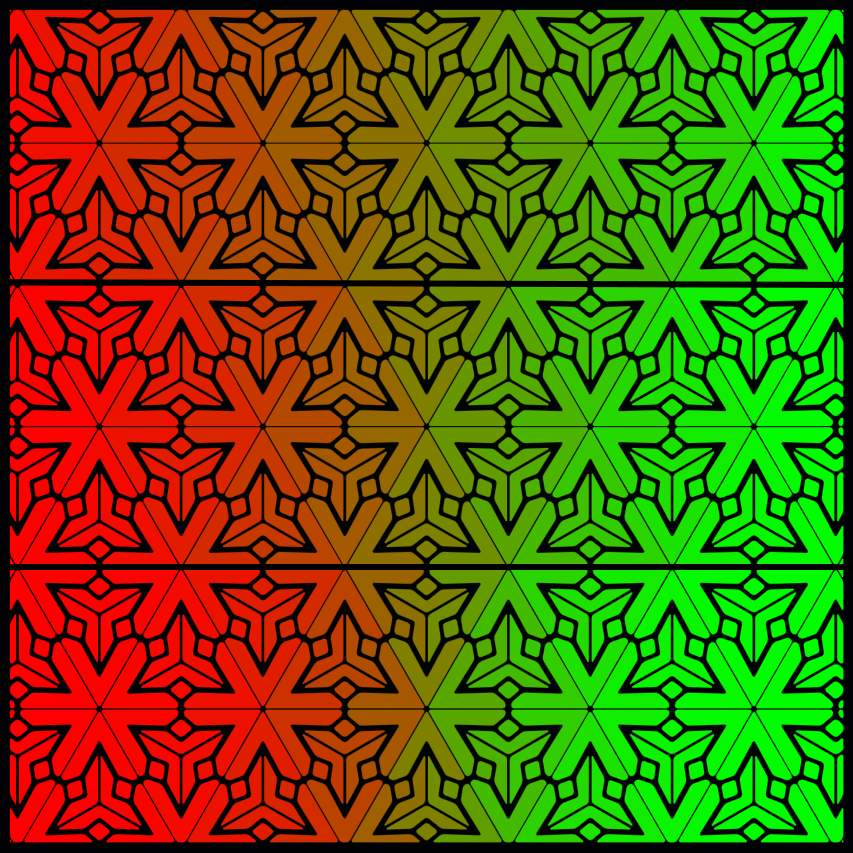
Gradient Ramp
| The “Ramp” setting can be “Linear”, “Sine”, or “Cubic”. This specifies how quickly or smoothly to transition from the start color to the end color. It is difficult to see the difference in the side-by-side comparisons below. It is much easier to see it change when changing the setting. |
More Examples
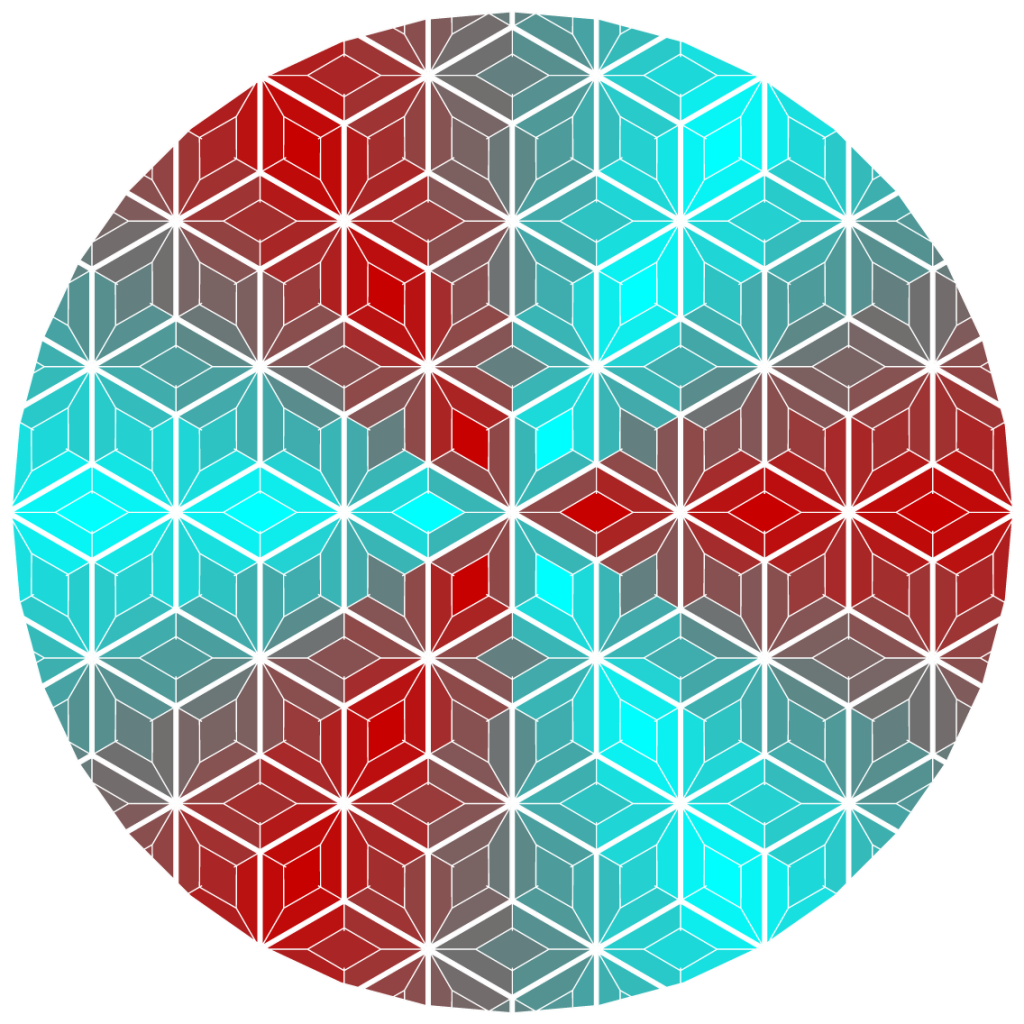
| Here are examples of circular and radial gradients. The top two show the effect of moving the origin of the gradient. |